Painting with Emulsion

Regardless of the more recent success this project had me rather nervous.
And yes my nerves were probably entirely due to the fact that I choose to use... you guessed it emulsion to paint it. But in my defence I did have half a pot of the most beautiful dark blue left after decorating and I couldn't just let it go to waste, now could I.
So after a huge amount of research I think I cracked it. Now it has to be said that this takes time and effort but the end result is beautiful and more importantly durable. I think as a horribly impatient person myself I have learnt through trail and considerable error that if you rush something or do a half arsed job it always shows in the end. So take your time, enjoy the process and you'll end up with something really beautiful.
Stage One : Prep
If you don't really put in the time to prep your furniture not only is the paint going to have a harder time sticking to it and will probably end up being prone to chipping and being easily scratched off but it really is so important to getting a properly smooth surface in the end.
Now my table was varnished as most furniture being up cycled will be so it needed a little extra elbow grease. Now get some sandpaper/sandpaper block or an electric sander if you don't want a workout and sand, sand like crazy. You want to get rid of any finish (varnish, paint), smooth out any chips or imperfections and leave the wood with a slightly rough surface so the paint has something to grip too.
Dust off any sawdust with a damp cloth and leave to go completely dry before priming.
(TIP always sand in a well ventilated space and wear a mask. Sanding especially sanding old furniture and varnish can make you really ill. Something I sadly learnt when I made myself ill once because I thought I'd be fine. Always wear a mask)
Stage Two : Priming
Now you can buy fancy primers but honestly after researching and finding this amazing little priming trick you really don't need to waste your money on primers.
To prime the wood simply water down some of the emulsion your using as you top coat. You'll want maybe 1/3 water 2/3 emulsion, mix a small amount at a time, there's not really an exact amount. Watered down paint is much easier to work with. It goes on more smoothly and the brush marks are less obvious.
To prime simply paint a really thin layer of your watered down emulsion, it will look awful but don't worry it will build up and in the end look great.
 |
| After the first primer coat. I told you it will look awful :) |
Leave this first layer to become properly touch dry and add another, again in a very thin layer. You'll only really need 2-3 coats of primer, remembering to leave to dry between each coat and then leave to dry overnight.
Stage Three : Top Coat
For a more durable and smooth finish I prefer to do three thin layers instead of just one thick one. So again like the primer water the paint down, not as heavily this time. Same as with the primer add one thin layer leave to go completely touch dry and repeat.
Use the tip above again and take your time to smooth out the paint as much as possible on every coat.
Stage Four : Finishing and Sealing
If I were painting something that would be getting far less use or less likely to be getting any knocks or scratches I would probably seal with a wood balsam for example beeswax. (Rub a generous amount in circular motions, buff with a clean cloth and allow a few hours between coats. The more coats the harder and more durable it will be)
But because this is a coffee table I decided to use something that will be hard wearing. So during a browse around the local DIY shop I noticed spray on gloss for painted furniture, it wasn't ridiculously expensive and is non yellowing. Simply follow the instructions on the can.

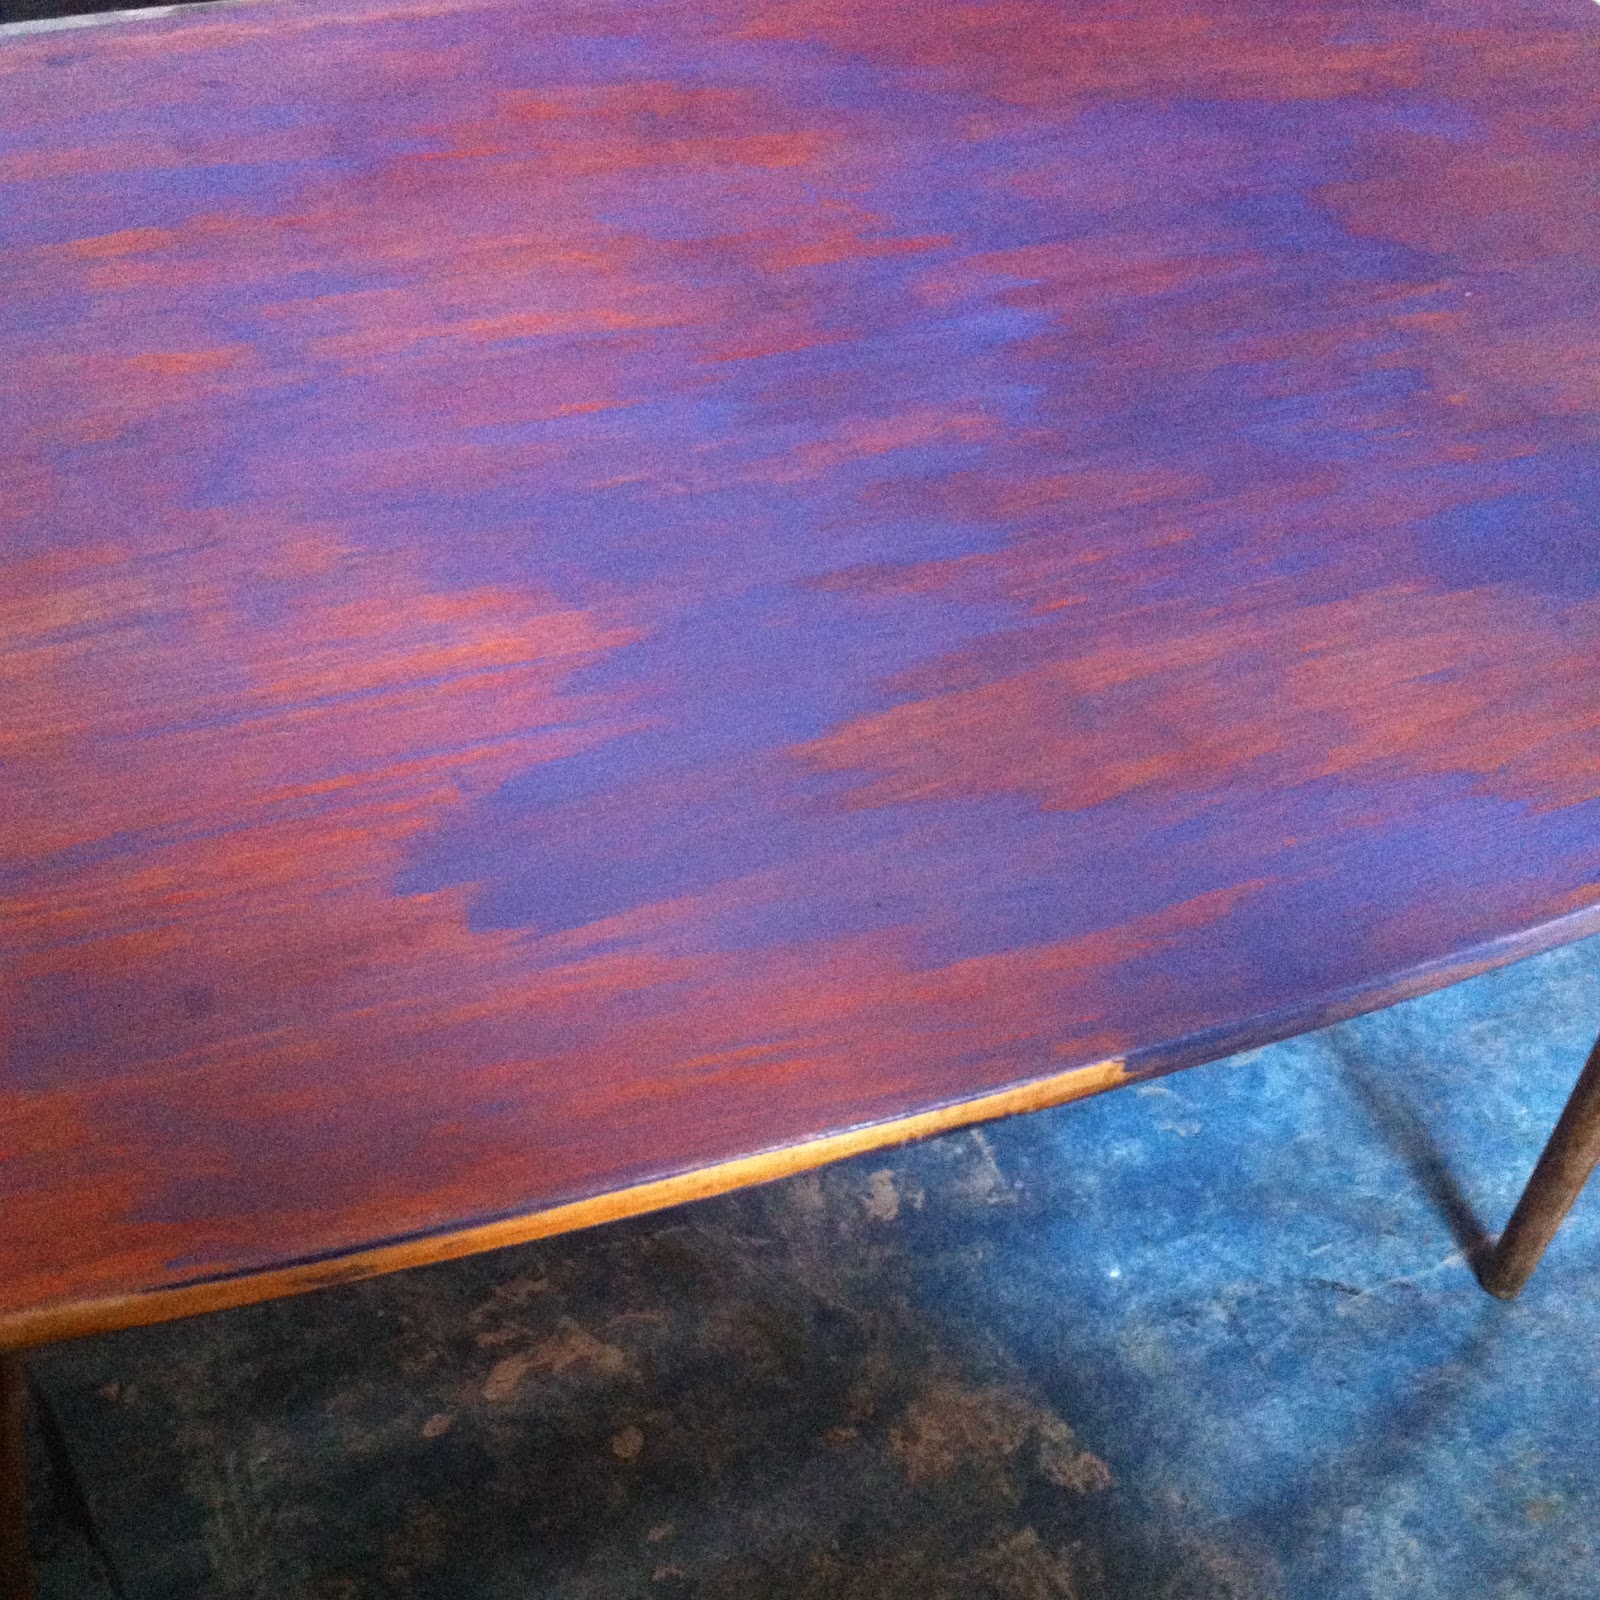
The gloss worked so well you can see the clouds in the sky :)

And there you have it, no need to fork out for pricey and hard to use paints, primers or the whole works, all you need is some trusty old emulsion.


Comments
Post a Comment